How to Start a Travel Blog (and make money)
When I first became a 7 figure blogger back in 2008, I decided to take a year off and travel the world. I had the casual thought that it would be fun to have a travel blog and document my wanderings.
Well, I’m glad I did because that one year, turned into five years of nonstop, living-out-of-a-suitcase, Westin-hopping, globetrotting, jet-setting, extraordinary experiences. It changed my life, and I don’t only mean the events and people- blogging all of this changed my life. I appreciated every moment just that much more….
…imagine my surprise, when my travel blog also made money.
It’s no surprise that I am frequently asked how to start a travel blog (and get paid for doing it.) I’m more than happy to share all my travel blogging secrets here.
Getting Started: Starting a Successful Travel Blog
If you are ready to start your travels, having a blog set up beforehand, is a MUST in my book. This way, you can blog from your phone as you are roaming castles and snapping photos of fabulous cityscapes, ancient ruins, or jetset action shots. (Don’t worry, I’ll tell you how to do that too.)
Here we go:
Step 1. Choose your travel blog’s domain.
I’ll be honest, this is one step that takes me the most time and you should not rush either. Your domain is important and should be well thought out.
Here are a few do’s and don’ts of choosing a good domain:
- Please choose something short or catchy, preferably both.
- Stay away from hyphens and numbers.
- Try for a .com or .net. Only go with .org if you are planning an actual organization. You may want to purchase all 3 versions if available. (I still deal with a guy that purchased the .net version of one of my blogs early on- it took years to get him to stop pretending to be my official site. Sigh, if only I’d purchased the .net.)
- Stay away from .info’s, .tv, .me, etc.
- Try to use singular. People will forget that “s” at the end of your domain.
- Use only common spellings if possible. Think, “youtube.com” vs. “utube.com.” You want to avoid losing traffic in the future to people who type your domain in with the common spelling, vs slang.
- Never use an existing brand name (example: amazontravelblog.com would get a swift letter from Amazon’s legal team and have to change their domain name- I’ve seen it happen.)
- If you purchase a domain that might be endlessly misspelled, it’s wise to purchase both.
If you are stumped for ideas on a domain name, try Shopify’s domain tool here.
Note: Once you’ve decided on your domain, hold onto it- it will save you money to register this with your hosting. (Details below.)
2. Choose Your Blogging Platform
There are a number of options for a new blog, however there is a reason that millions of bloggers and every professional blogger (including myself) use WordPress. While you could start with one of the free options, WP is hands down your best option for monetizing, marketing, and customizing.
To use WordPress, you will have the option to use WordPress.org or self-hosted WordPress through another hosting company of your choice.
WordPress.org, like other free/almost free blogs (such as blogger, or typepad,) can be good, but is limited for customizations, traffic, performance, etc. There are also TOS (terms of service) you will need to adhere to (or have your blog shut down; I’ve seen it happen.) IF you plan to keep and grow your blog, you will need to move to another host before too long. This can be a task and you could very well be starting over, losing your readers and traffic.
My preference is to opt for my WordPress blog to hosted elsewhere.
3. Web Hosting
Web hosting refers to where your WordPress blog will be “stored” so people can access it on the internet. There are plenty of web hosting companies.
My preferred hosting company is BlueHost, for a number of reasons, including the price.
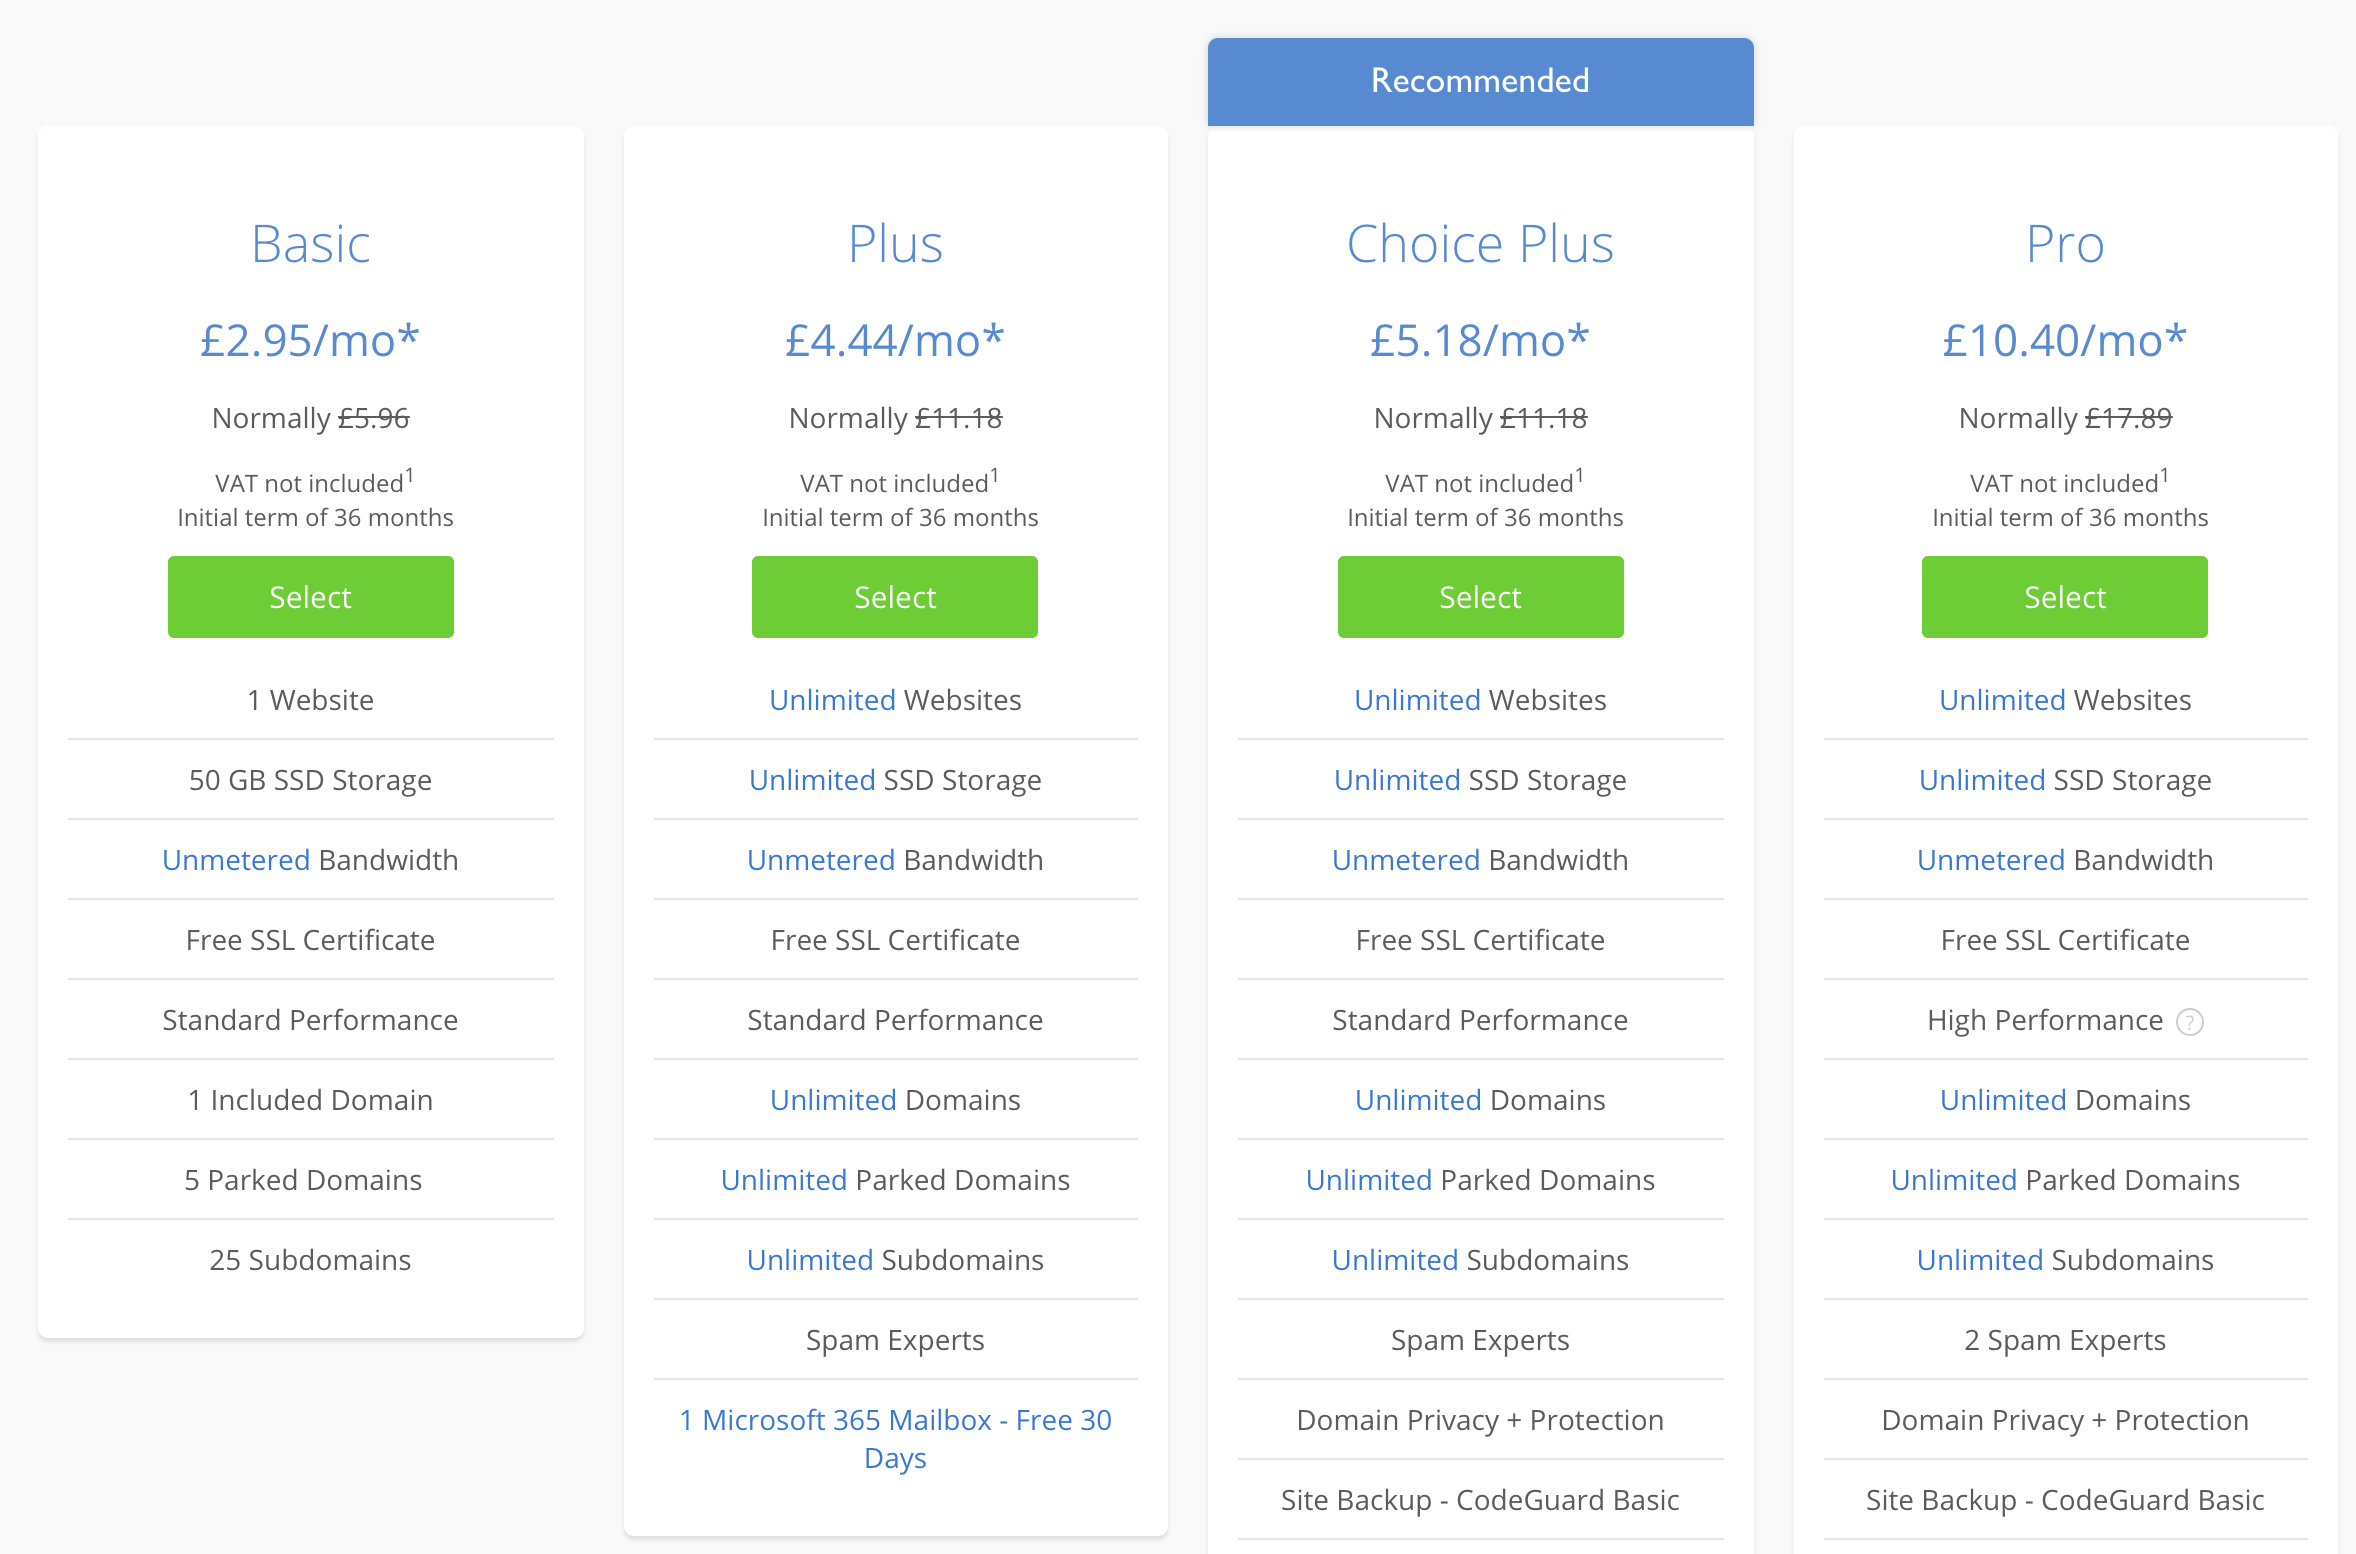
- To get started, pricing is incredibly affordable at only $2.95 a month for 36 months. (Fab, considering some are $20+ a month.) Note: for the first year, you pay an annual amount, and then have monthly options.
- Auto-installation of WordPress using a wizard form. (Designed for the newest of new bloggers) with chat support available. You are set up and ready to blog in MINUTES.
- Reliable service (no ongoing struggle with failing or slow sites: I’ve lost thousands of dollars due to downtime with other companies.)
- 24/7 Customer service that is readily available and specializes in helping those who are new to blogging. (Early on, I struggled with this; my site was crashing for weeks, losing money daily, & my hosting company’s response was to send me login instructions… in spanish. Customer service is important, folks.)
- You can host MULTIPLE blogs with different domains, on the same hosting plan. So, if you want a travel blog, and a fashion blog, and a photography blog, you can pay one hosting fee for all.
- They offer a 30 day money back guarantee. Risk free to get started!
4. Let’s Choose Your Hosting Plan & Register Your Domain
Head on over to the BlueHost hosting website here, click on “Get Started Now.” The next page will bring you to your hosting plan options. For most new travel bloggers, the basic plan should be sufficient, and then you will have the option to upgrade later. (IF you have big marketing planned, or already have a big social media following, etc, you may want to consider one of the upgraded plans.)
Again, BlueHost only offers annual plans for new signups, and this includes your domain registration for one year. After the first year, you can change to a monthly hosting plan if you prefer.
I personally don’t mind the annual payment; it saves money and you don’t need to worry about your site being offline due to an expired card or such craziness.
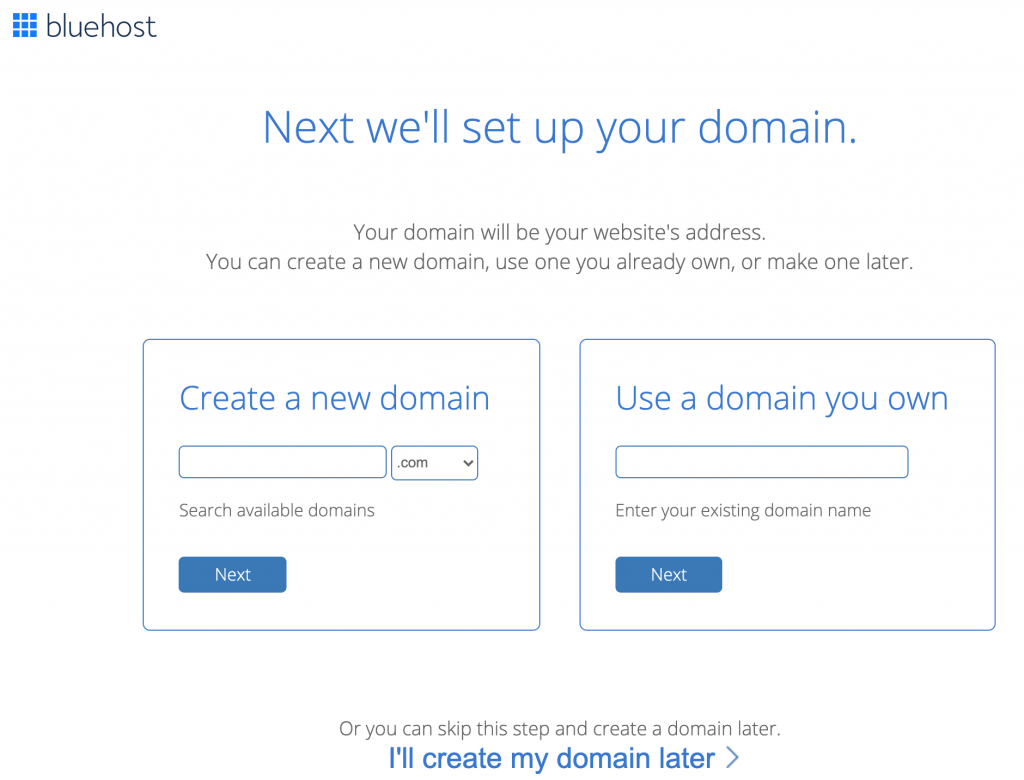
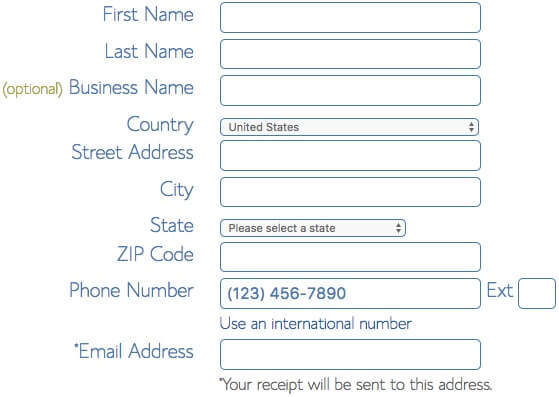
Once you’ve chosen your hosting plan, and entered your preferred domain name, you will be taken to a page to enter your personal and payment details. It’s a quick, painless registration… and then the good stuff….
Step 5. Choose a WordPress Theme and Start Travel Blogging
Once you’ve signed up for your hosting plan, you will have your hand held through the WordPress setup process.
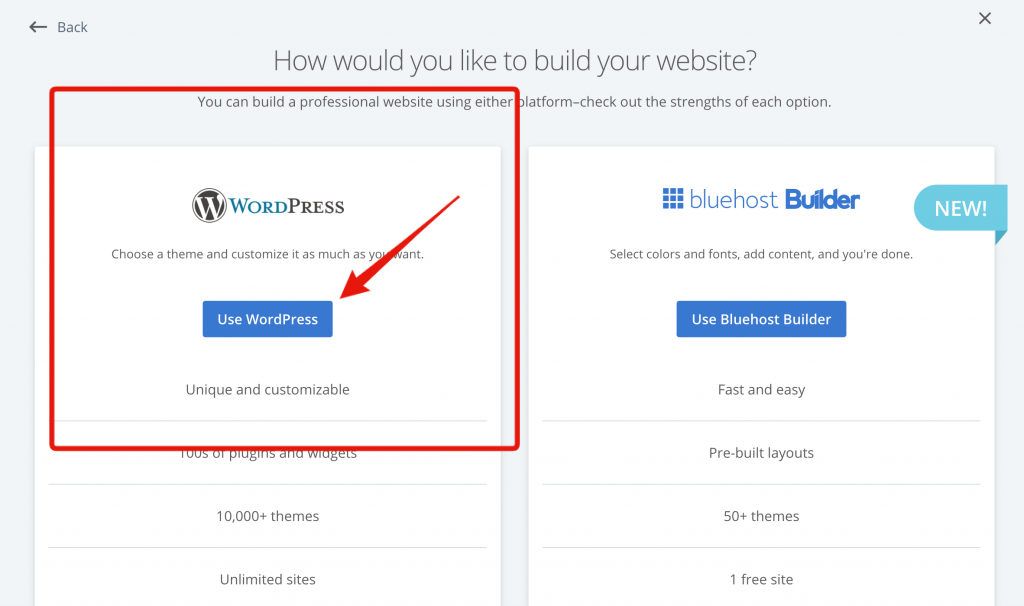
As you can see, your blog’s instillation is done in 3 simple steps:
- Select WordPress
2. Wait for installation (if it prompts asking if you’d like a few plugins installed, that’s ok. Hit yes and wait for this screen.)
Step 3. Within 1 to 2 minutes, your blog is installed.
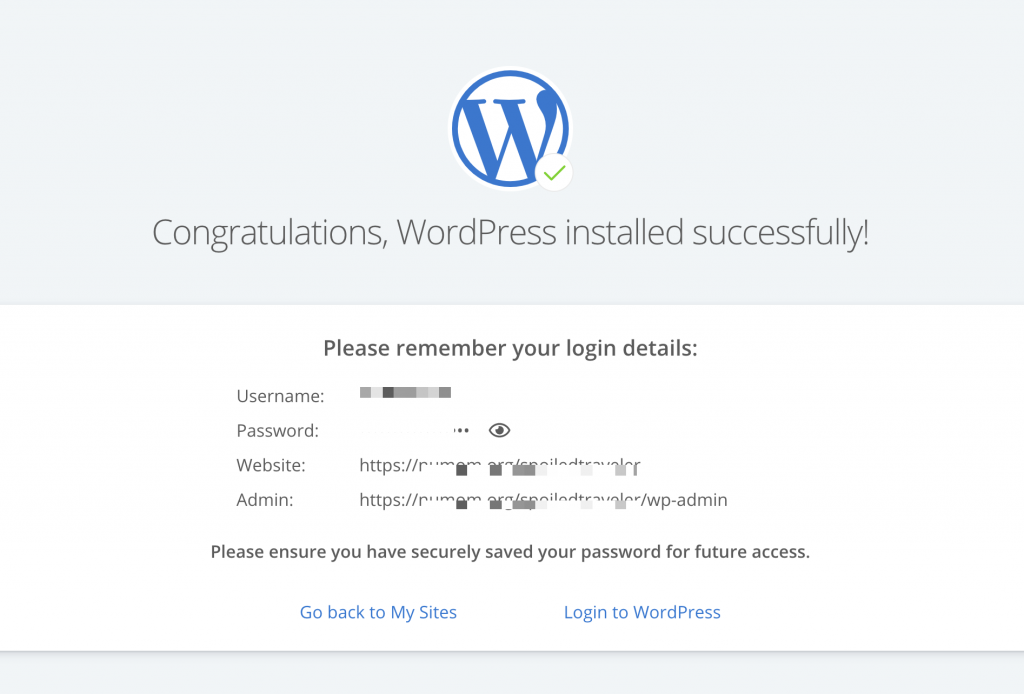
Step 4: This is what your behind-the-scenes dashboard will look like. As you can see, there will be a blogger checklist to get you started. The first step, will be to choose a theme.
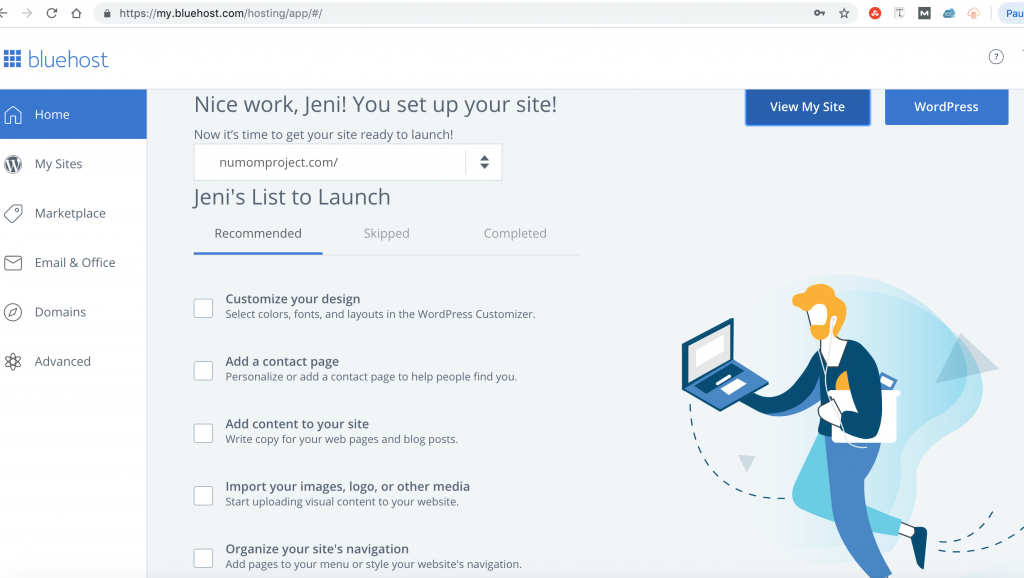
Choosing a Theme (Design) for your Travel Blog
Bluehost offers countless free themes to get you started. Now, before you spend ages choosing that perfect theme, know that it is not massively important at this point. This early on, you have plenty of time to choose a the right theme, but I do recommend getting your navigation set up first, and thinking about what you want to feature on your homepage, in your sidebars, etc. Once you have this in mind, you will see themes differently; you will want one that fits your style AND your content approach.
Take your time, and expect to change your theme as often as necessary until you have the look and function you want for your travel blog.
Once you have completed the checklist on your BlueHost dashboard, you are ready to get started with your first blog post! If you need help with this, I have free tutorials on my blog, Brilliantetc.com, where I share plenty of tips, setup instructions, how-to’s and how-not’s to get you going.
If you are feeling stuck, or just want to share your blog, you are more then welcome to email me: jhottinc (@) gmail.
Great job and I can’t wait to see your travels!
NOTE: Some links in this post are affiliate links. That means, I may earn a small commission for referrals, at no additional cost to you.